My First 3D Print at the Innevation Center Makerspace

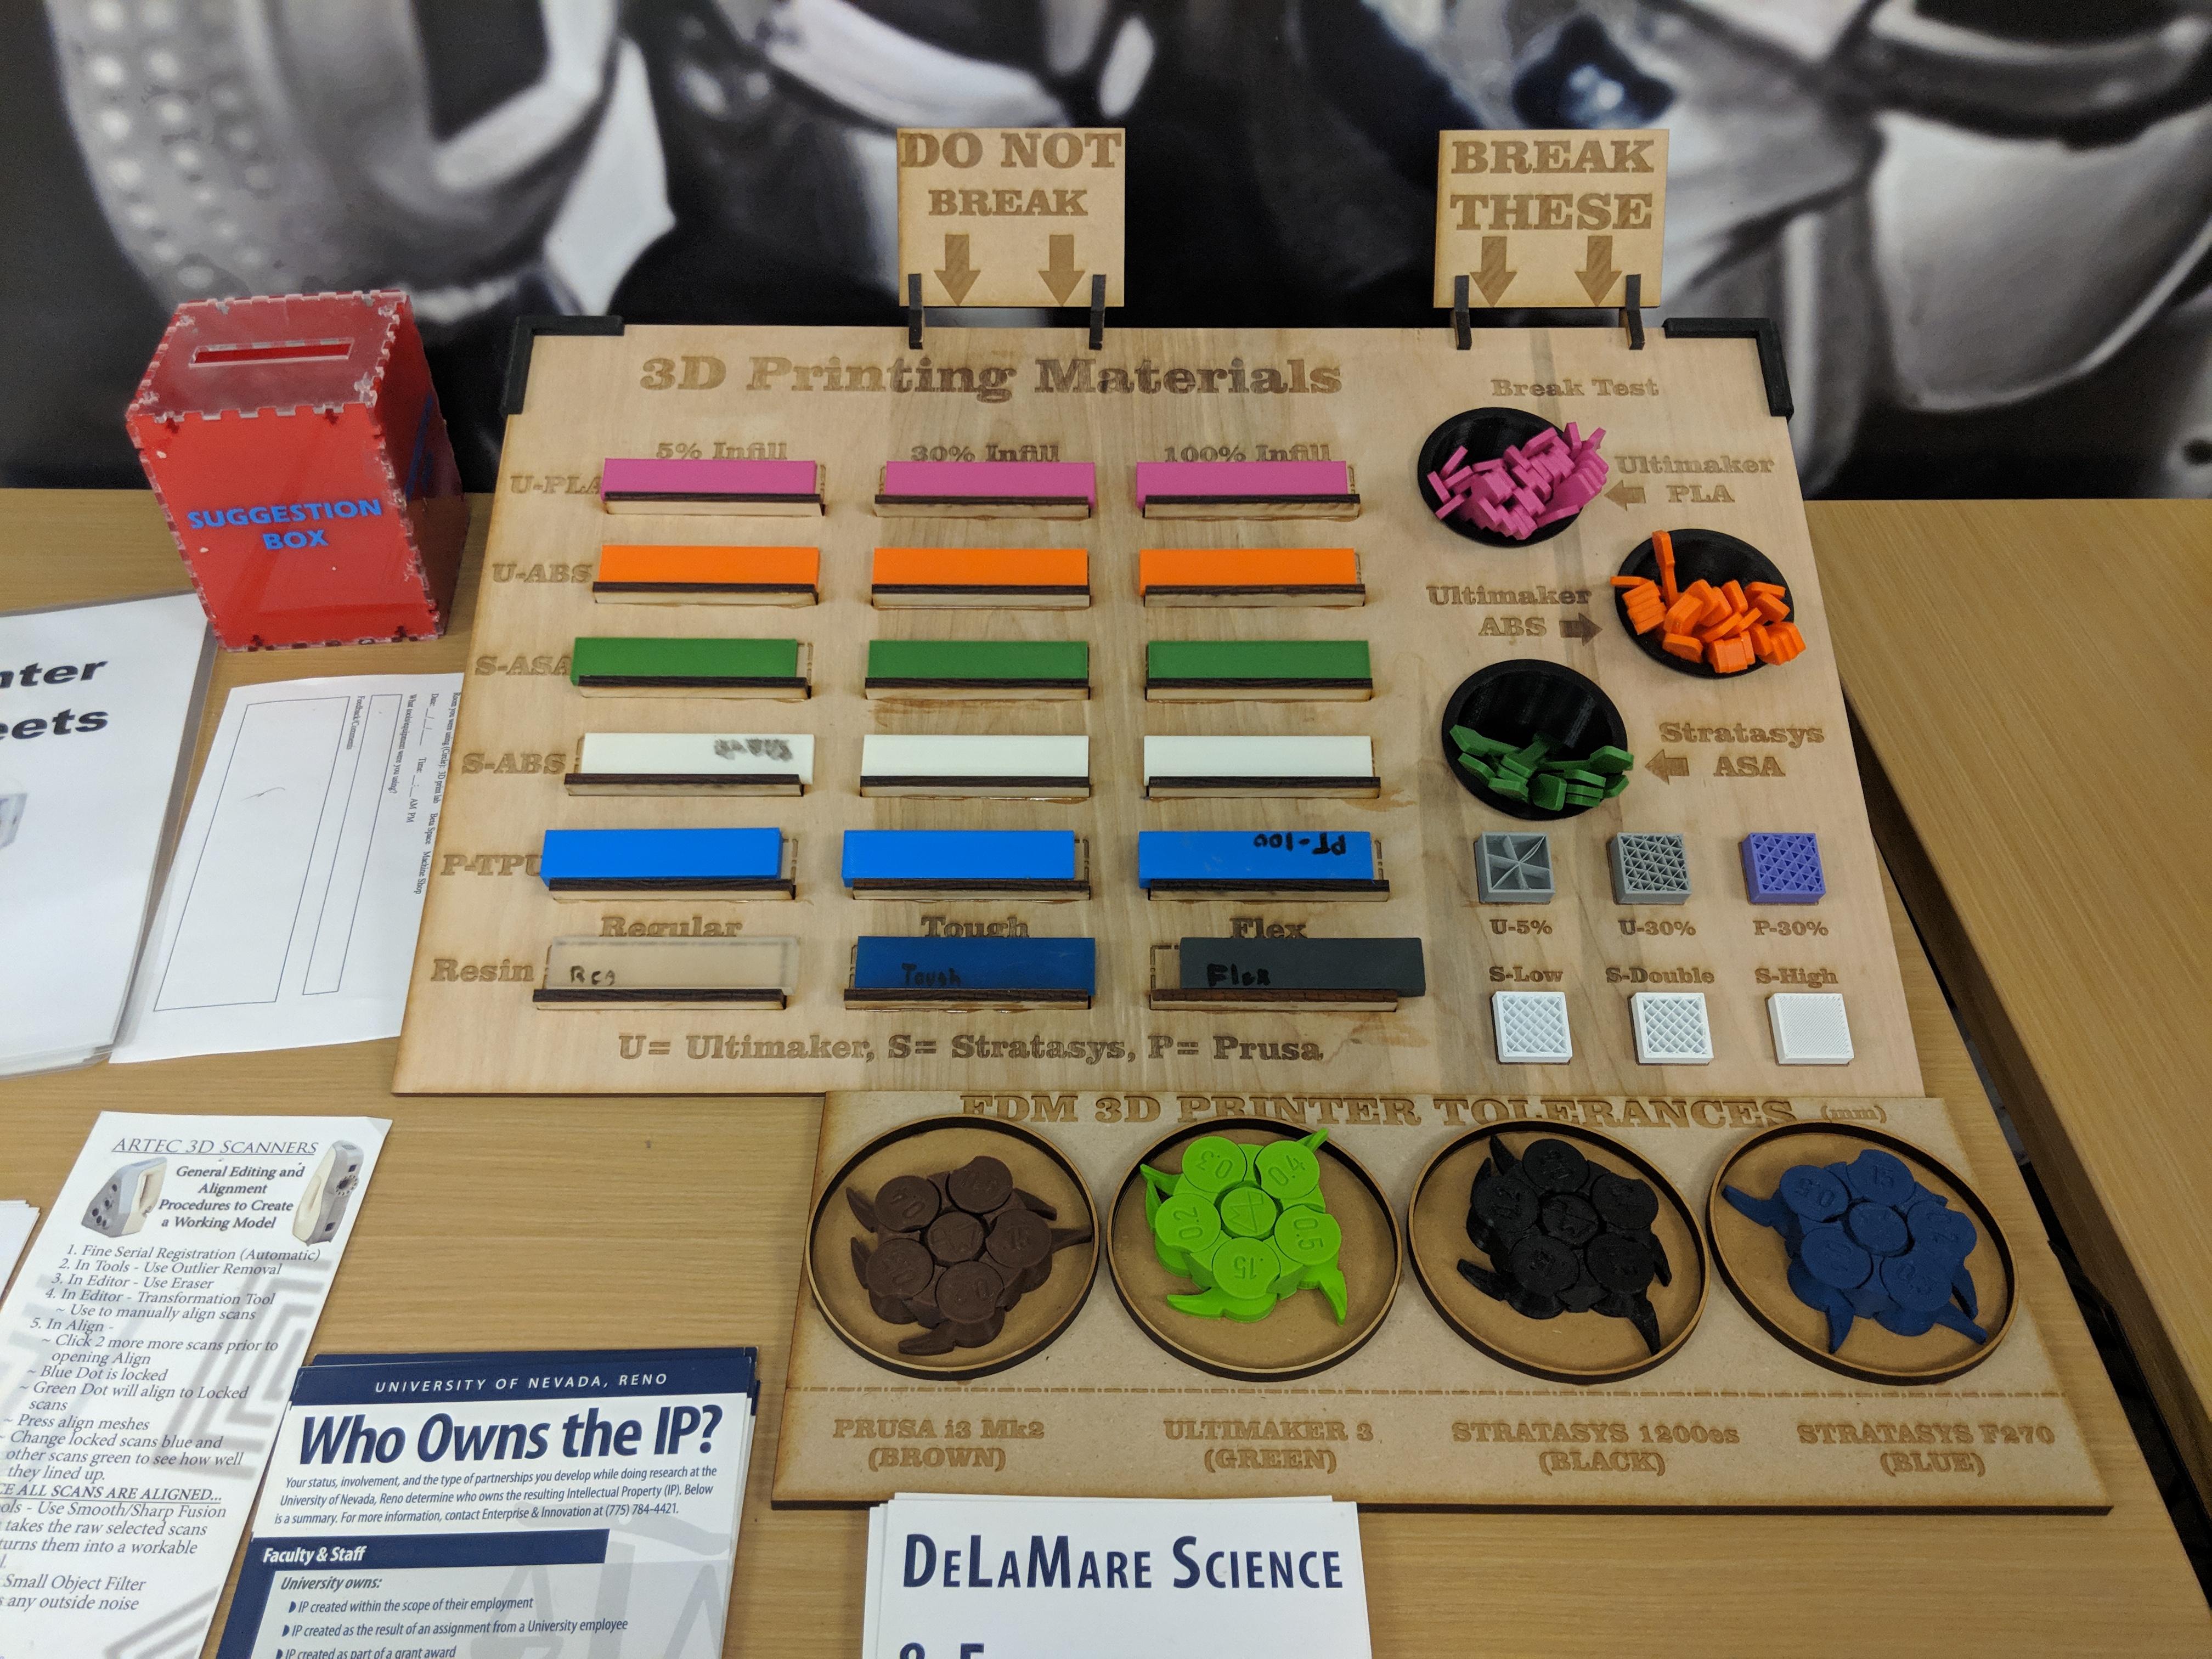
The UNR Innevation Center Makerspace is home to seven 3D printers that can accommodate a range of printing needs from cost effective looks like prototypes, to robust works like prints, and finally to high resolution resin prints. The Makerspace does this by having different types of 3D printers with different technologies – their main printers being the Ultimaker 3E, a Prusa i3MK2, a Stratasys F270, and FormLab Form 2s. All but the Form 2 printers use traditional FDM (fused deposition modeling) technology and the FormLab 2s use SLA (stereolithography). FDM can most easily be compared to a hot glue gun squeezing out hot plastic. SLA uses a laser to cure a thin layer of resin one layer at a time.


3D Printing as a Service
At the Innevation Center Makerspace, the Maker Staff offers 3D printing as a service. Printing as a service means that a customer brings in a 3D CAD file and the staff will take it from file prep to final print. First the Maker Staff will make sure the file is printable and provide recommendations on how to change the file if it isn’t. Then the staff go over the different printer types and print settings that will best meet the customer’s needs. Finally the Maker Staff will print the part out! In this blog post I want to share with you my print process at the Innevation Center makerspace and the project I have on the docket today is a horizontal and vertical business card holder.

3D CAD Model File Formats
What you see above is the CAD model of my business card holder, originally created in Solidworks 2016 Premium then imported into the 3D slicer software, Cura, as an STL. Solidworks is a great 3D CAD modeling software that saves 3D parts in its proprietary format file format called “Solidworks Part Document”. However the standard 3D model format for all 3D printing software is called STL, you may hear people refer to this as bringing your “STL file” for your model.

Solidworks, and any other 3D CAD software, should be able to export your 3D model as an STL file. Think of how Photoshop exports Photoshop’s PSD files as a JPG or PNG. Just like how a JPG holds less information than a PSD, STL files hold less information than a Solidworks Part Document but it’s just the right amount for 3D printer software. So before I head into the Makerspace to get my part 3D printers, I’ve made sure to export my part as an STL file.
Picking the Right Printer and Settings
I shared my STL file with the Maker Staff at the Makerspace and they said that my part would indeed be printable. They showed me how the angle of my overhang on the bottom is steep enough to not need support material, if it were too shallow the hot plastic wouldn’t be supported enough and sag.

The recommended printing it standing straight up and asked what kind of application this would be used in. I said that it would be sitting on my tabletop not getting much abuse. Because of that they recommended the cost effective Ultimaker which has a wide array of color choices. They also recommended having a lighter infill so that the part doesn’t use as much material. Infill refers to the how much the part is “filled in” with plastic since solid plastic infills are rarely necessary.

Getting it Printed

With the staff’s recommendations, I decided to print the part on the Ultimaker. They gave me my invoice for $22.69 which I could pay up at the Innevation Center front desk and told me that I’d get an email when my part was ready to be picked up. Since there was nothing else in the queue, they said they’d get it started now and estimated it would be ready for me to pick up tomorrow! So I headed upstairs to pay for my invoice while the staff got my printed started. Afterwards I headed back down to see it print the first few layers.

My first print!
Fast forward to the next day, I got an email telling me that my print was done at 9am and I headed down to the Makerspace. They Maker Staff had my part in a ziploc baggy that they got out for me when I arrived. Reviewing the part they showed me the couple of spots where there were imperfections in the layers. Pleased with the results, I went back to my office to put some cards in my new business card holder.

My final 3D printed business card holder! 
Business card holder in action!
If you’ve been thinking about getting something 3D printed I would definitely recommend visiting the Innevation Center Makerspace, even if it is just to pick the staff’s brain on your 3D print plan. Is 3D printing the best route for what you want to build? What design considerationds should you have in mind while making the CAD file so that it can be easily 3D printed? What are the limitations of what you can do with a 3D print? Can I strap it to my bike and have it last? Thanks for reading and if you have any lingering questions about 3D printing at the Innevation Center Makerspace, definitely reach out to me! I’d be happy to connect on LinkedIn or Twitter or you can email me at crystalh@unr.edu. If you’d like to continue seeing my blogs on innovation, business development, and our community, subscribe to my blog on the right.
- Are you a Leader or a Supervisor? - May 3, 2019
- Why Reno Offices Love Dogs - May 2, 2019
- 5 Ways to Strengthen Your Personal Community in Reno - May 1, 2019